현재 작업중인 flutter 프로젝트의 webapp을 자동으로 배포하기 위해 github의 web hosting을 이용했다.
1. github 메인 호스팅 repogitory 만들기
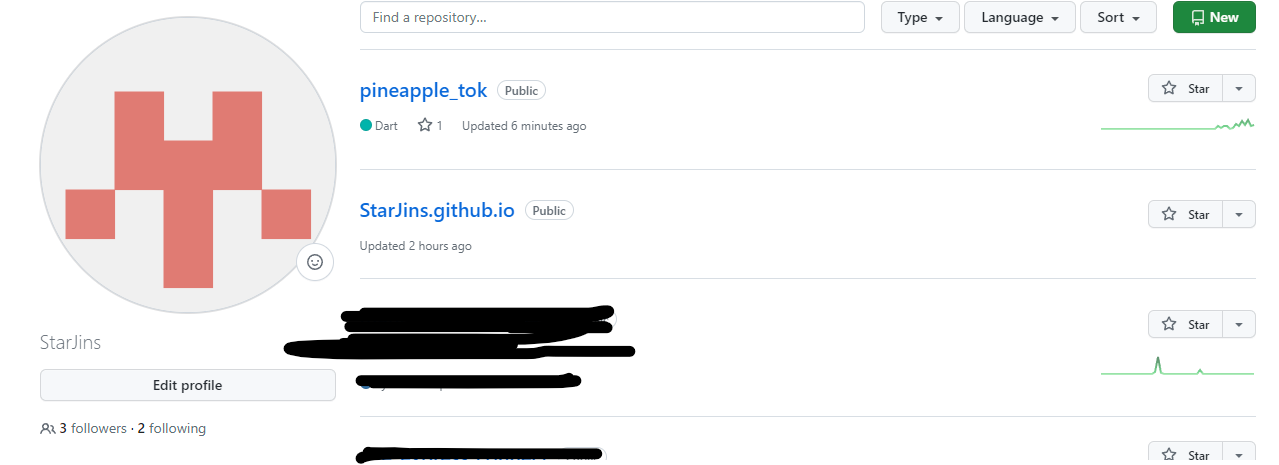
github에 userName.github.io 이름으로 repogitory를 생성한다.
2. flutter project에 github workflows 추가
자신의 flutter project의 root directory부터 .github/workflows 폴더를 생성한다.
그 후 원하는 파일이름.yml 파일을 생성해 준다.

파일생성 후, 아래 내용을 추가해 준다.(출처: https://joeyhwang.tistory.com/20)
name: Build and deploy flutter web app

on:
  push:
    branches: [ "main" ]

jobs:
  build:
    runs-on: ubuntu-latest

    steps:
      - uses: actions/checkout@v3
      - uses: subosito/flutter-action@v2
        with:
          channel: 'master'
      - run: flutter pub get
      - run: flutter config --enable-web
      - run: flutter build web --base-href "/${{ github.event.repository.name }}/"

      - run: git config user.name github-actions
      - run: git config user.email github-actions@github.com
      - run: git --work-tree build/web add --all
      - run: git commit -m "Automatic deployment by github-actions"
      - run: git push origin HEAD:gh_pages --force
각 라인에 대한 자세한 설명을 아래 블로그에 설명이 되어있다.
https://joeyhwang.tistory.com/20
간단하게 내용을 설명하자면,
push에 설정된 branch로 commit이 push된다면 jobs에 설정된 동작을 수행한다.
jobs의 내용은 flutter webapp을 빌드 후, build/web 아래에 있는 모든 내용을 현재 repogitory의 gh_pages branch에 강제로 push 한다.(이때 gh_pages branch가 없으면 생성이 된다)
위 파일을 commit한 후에는, commit이 발생할 때 마다 자동으로 gh_pages branch에 빌드된 webapp이 push 된다.

2.1. refusing to allow a Personal Access Token to create or update workflow 에러 발생 시
사용 중인 github token에 workflow 권한이 없어서 생긴 문제이다.
아래 링크에 접속 후, 자신이 사용하는 token을 클릭해 workflow 권한을 추가해 준 후 재시도를 하면 성공한다.
https://github.com/settings/tokens
GitHub: Let’s build from here
GitHub is where over 100 million developers shape the future of software, together. Contribute to the open source community, manage your Git repositories, review code like a pro, track bugs and fea...
github.com

2.2. Permission denied to github-actions[bot]. The requested URL returned error: 403 에러 발생 시
repogitory에 action에 대한 권한이 부족해서 발생한 에러이다.
Setting -> Actions -> General -> Workflow permissions을 Read and write permissions으로 변경해 준다.

3. repogitory web hostring 설정
repogitory의 Setting -> Pages에 들어간 후 브랜치를 아래 그림처럼 설정해 준다.

(이 글을 보고 따라하는 경우, Visit site는 보이지 않을 것이다. 아직 배포된 적이 없기 때문)
Save 버튼을 클릭 후 Action 탭을 확인하면 웹 페이지가 배포되고 있는 것을 확인할 수 있다.

페이지 배포 완료 후, Visit site가 생길 것이며 버튼 클릭 시 웹페이지가 열리게 된다.
위 과정을 다 수행하고 나면, 이제 commit할 때 마다 자동으로 web 배포가 진행이 된다.
'플러터(Flutter)' 카테고리의 다른 글
| firebase auth에 계정 등록하는 방법 (0) | 2023.07.04 |
|---|---|
| StreamBuilder를 통해 chatting message 가져오기 (0) | 2023.06.22 |
| Firestore에 데이터 저장하는 방법 (0) | 2023.06.15 |
| Firestore db 권한 설정 (0) | 2023.06.15 |
| Flutter Firestore 연동 (0) | 2023.06.12 |

